
BricX command center screen viewer+VNC+iphone=iphone lego NXT control. f'ing awesome :)


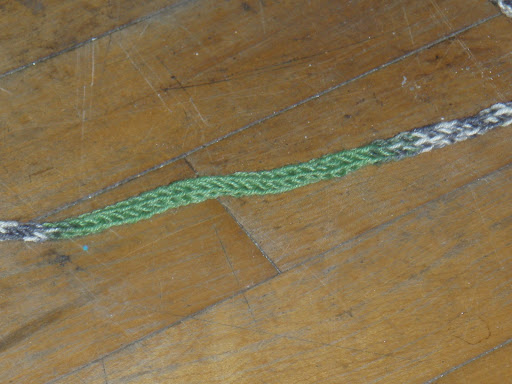
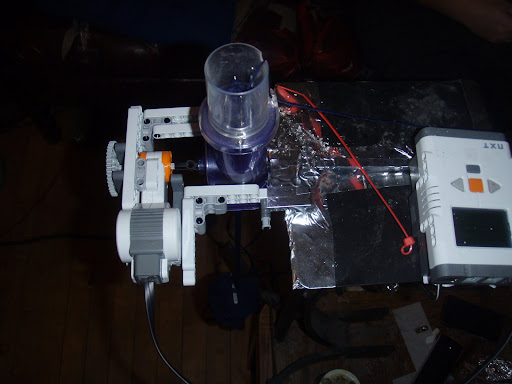 The geek in me couldnt help but try to think of a way to completely automate the little machine. It would seem simple enough, just spool up the cord as it comes out. The problem with knitting machines is that they require lots of tension on the output line. this machine came with a 1oz weight that had to be kept on the yarn. lose the tension, and the delicate little crochet hooks would likely snap. The other issue is that because the hooks move around the center in this device, the cord spins as it comes out. This isnt a big deal for a few feet like it was designed for, but making huge pieces got to be annoying. The entire mass of already knit cord had to spin at the same rate new cord was being made. and since it was being spun, a simple winder wouldnt work. i had to figure out a way to un-spin the cord first.
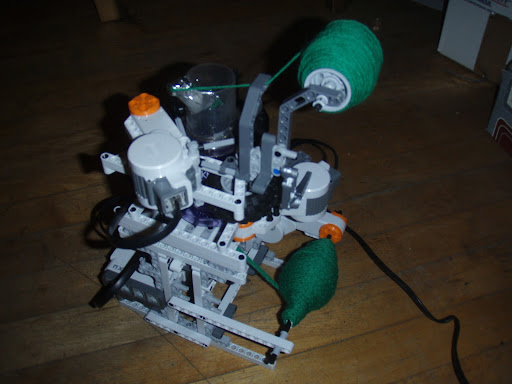
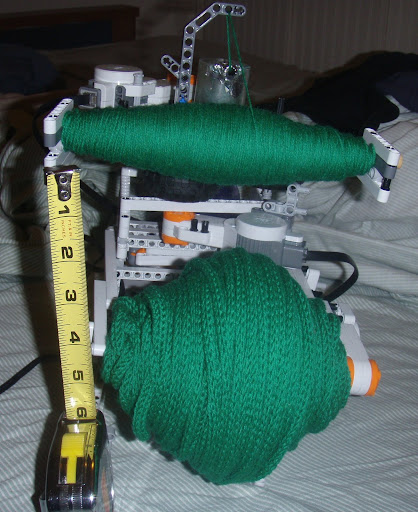
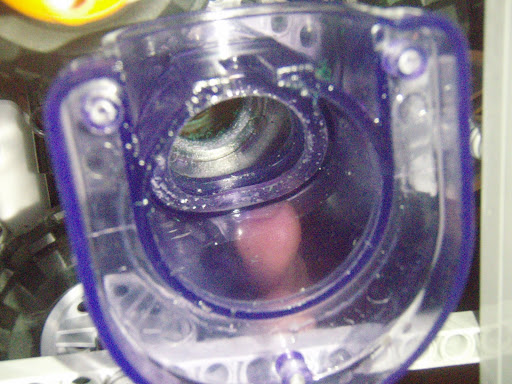
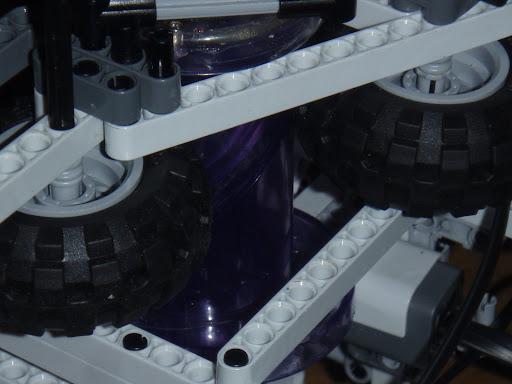 So i spun the entire machine instead! Using rubber wheels i removed the yarn feed clip leaving a nice ridge that i could support from the top and bottom, letting it spin freely. but not move up and down. I removed the bottom of the machine and effectivly 'jammed' the gear for the center rotating piece in place. This meant the cord could come out of the machine un-spun, and could be easily wound up.
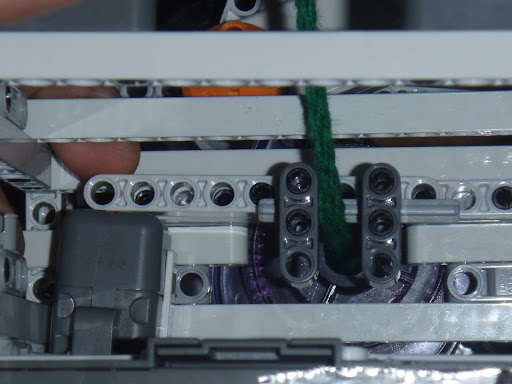 Keeping tension on the output cord is critical, so i rigged up a channel for the cable to come through. The lever hits a switch that is monitored. When the switch is not depressed, it turns on the winder until it sees tension.
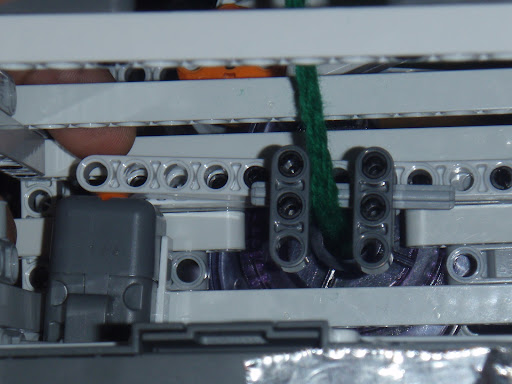


// Embelish-knit controller
// Left and right keys adjust speed

dseg segment
KnitSpeed byte 50 // Initial knitting speed
TensionSpeed byte 5 // Initial tension speed
TensionMin byte 2 // Minimum allowed tension
TensionMax byte 20 // Maximum allowed tension
ButtonstateR byte
ButtonstateC byte
ButtonstateL byte
SwitchState byte // Switch state
crap byte // Disposable variable
exetime byte 0  // Runtime in seconds
dseg ends

thread main
TextOut(0,LCD_LINE1, 'Knitter 2.0')
TextOut(0,LCD_LINE2, 'Knit Speed:')
TextOut(0,LCD_LINE4, 'Runtime:')
TextOut(0,LCD_LINE6, 'Tension Speed:')
SetSensorTouch(IN_1)
precedes Knit,ScanButtons,Tension,TimeLoop
endt

// Drive the dual knitting machine drive motors
thread Knit
//Pretension drive. do not start knitting until there is tension
WaitForPreTension:
 ReadSensor(IN_1,SwitchState)
 brtst EQ,WaitForPreTension,SwitchState
KnitForever:
 NumOut(0,LCD_LINE3, KnitSpeed)
 OnFwdReg(OUT_AC,KnitSpeed,OUT_REGMODE_SPEED+OUT_REGMODE_SYNC)
 jmp KnitForever
endt

// Watch for button presses
thread ScanButtons
WaitForButton:
 ReadButtonEx(BTN2,TRUE,crap,ButtonstateR,crap)
 ReadButtonEx(BTN3,TRUE,crap,ButtonstateL,crap)
 ReadButtonEx(BTN4,TRUE,crap,ButtonstateC,crap)
 brtst GT,RightPress,ButtonstateR
 brtst GT,LeftPress,ButtonstateL
 brtst GT,CenterPress,ButtonstateC
 jmp WaitForButton
RightPress:
 add KnitSpeed,KnitSpeed,5
 jmp WaitForButton
LeftPress:
 sub KnitSpeed,KnitSpeed,5
 jmp WaitForButton
CenterPress:
 stop 1
 jmp WaitForButton
endt


// Drive and adjust the output spool drive
thread Tension
//Pretension drive. do not start until pretension is finished
PreTension:
 OnFwdReg(OUT_B,TensionSpeed,OUT_REGMODE_SPEED)
 ReadSensor(IN_1,SwitchState)
 brtst EQ,PreTension,SwitchState
TensionLoop: // Constantly check for the state of the button press
 NumOut(0,LCD_LINE7,TensionSpeed)
 ReadSensor(IN_1,SwitchState)
 // If the switch is down, slow down the output drive (slowly)
 // If the switch isnt down, speed up output drive
 brtst EQ,TensionLost,SwitchState
GainTension:
 sub TensionSpeed,TensionSpeed,1
 call SmoothTensionSpeed
 OnFwdReg(OUT_B,TensionSpeed,OUT_REGMODE_SPEED)
 //Off(OUT_B)
 wait 1000
 jmp TensionLoop
TensionLost:
 add TensionSpeed,TensionSpeed,1
 call SmoothTensionSpeed
 OnFwdReg(OUT_B,TensionSpeed,OUT_REGMODE_SPEED)
 wait 1000
 jmp TensionLoop
endt

// Increase a variable once a second to determine runtime
// I cant believe the NXT cant do this... maybe i couldnt find it
thread TimeLoop
Runtime:
 // Reset the poweroff timer
 ResetSleepTimer
 add exetime,exetime,1
 NumOut(0,LCD_LINE5,exetime)
 wait 1000
 jmp Runtime
endt


// Bounds check the tension speed to prevent literal crashes
// Negative tension speed can cause permanant damage to the machine
subroutine SmoothTensionSpeed
SmoothLoop:
 TextOut(0,LCD_LINE7,'   ')
 NumOut(0,LCD_LINE7,TensionSpeed)
 brcmp GT,LowerTS,TensionSpeed,TensionMax
 brcmp LT,RaiseTS,TensionSpeed,TensionMin
 return
LowerTS:
 mov TensionSpeed,TensionMax
 jmp SmoothLoop
RaiseTS:
 mov TensionSpeed,TensionMin
 jmp SmoothLoop
return
ends